
SharePoint Online brings some out-of-the-box usage metrics. This gives us a little insight into user behavior but leaves a lot of room for interpretation. So how do we get data to make our lists, site collections and custom solutions more user friendly? One way to get data, is to integrate Microsoft Clarity into our SharePoint to better analyze behaviour. The data can then be used to draw valuable conclusions for the placement and design of elements.
As I posted on my blog about Canvas Apps & Microsoft Clarity, Thomy immediately followed up with putting ideas in my head. Once more, cheers to Thomy!
Without further ado, here is the good stuff :
Prerequisites
As with any good dish, we need a few basic ingredients:
- One SharePoint Online Site Collection we want to capture
- One Microsoft Clarity Account (they now have a new cool logo)
- Visual Studio Code (still my favorite)
- node.js (what would we do without …)
- Yeoman & gulp best by
npm install -g yo gulp(See this as our KitchenAid) - SharePoint Yoeman generator (KitchenAid Attachment)
Create a new Microsoft Clarity Project
Of course, we need a Microsoft Clarity project in order to have a project ID we can use in our app:
- Simply log into your account on https://clarity.microsoft.com/ and add a new project
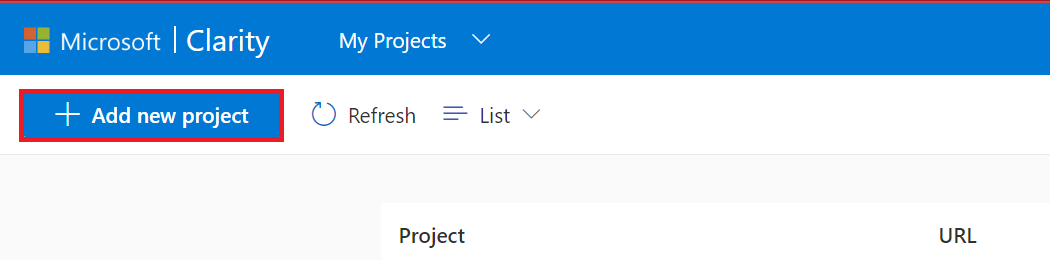
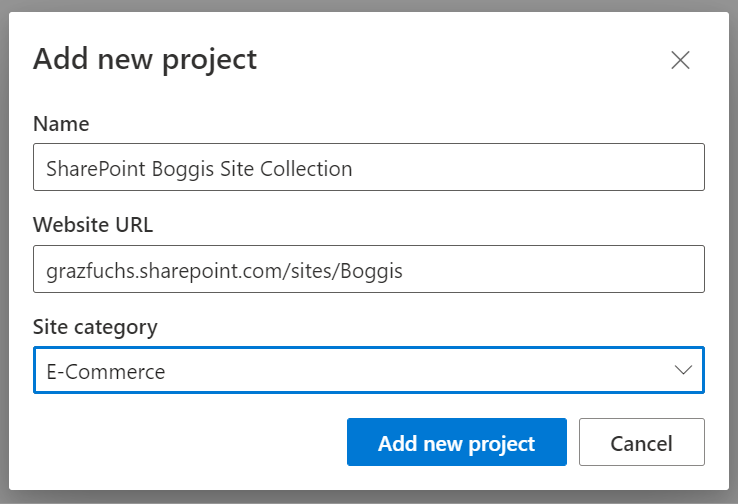
- Add a new project and fill in your own properties, because mine are silly
- We will be redirected to the setup page, where we will extract the Clarity tracking code and save it for some time later
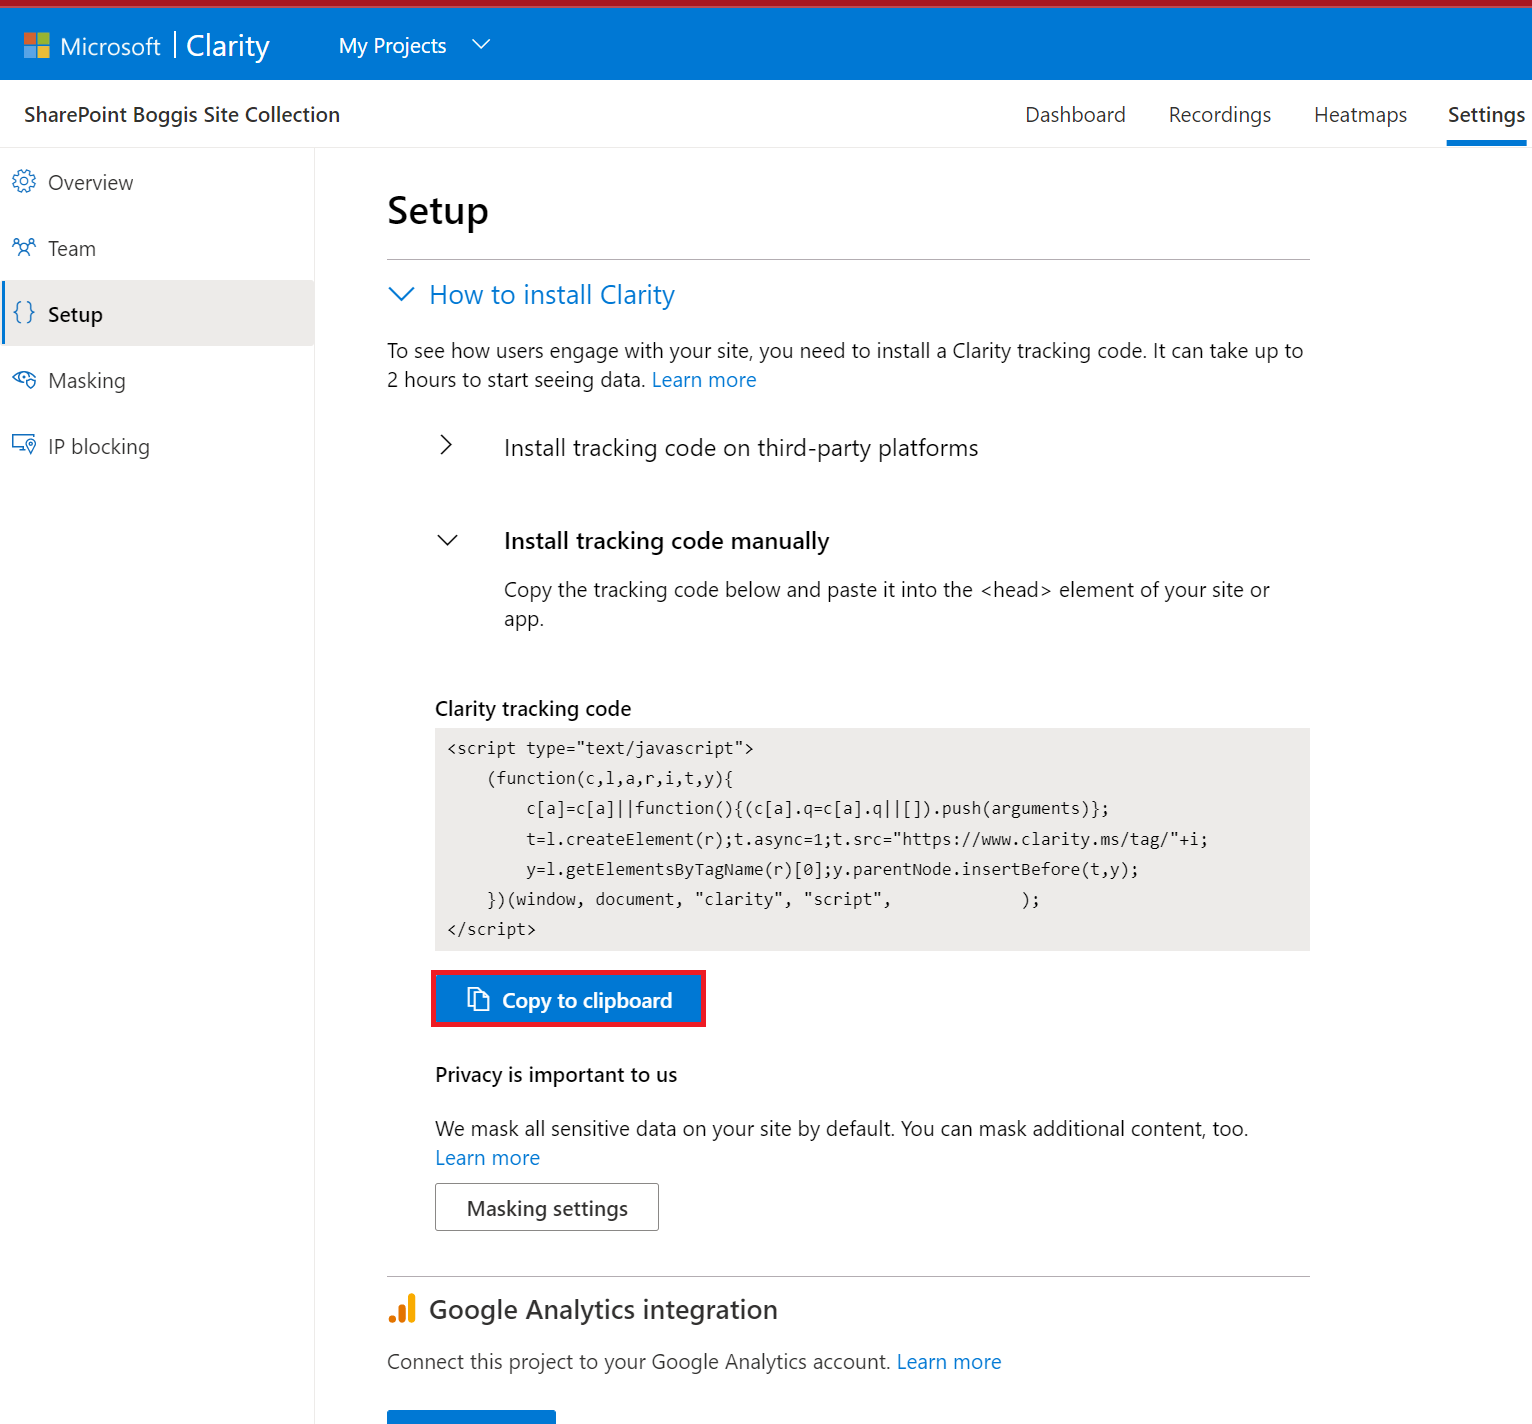
To be honest, we only need the Project ID but the button to copy the code is so convenient.
Create SPFx app customizer
It’s time to lay our foundation and therefore create an SharePoint framework (SPFx) application customizer:
md SPFxClarityCodeSnippet
cd SPFxClarityCodeSnippet
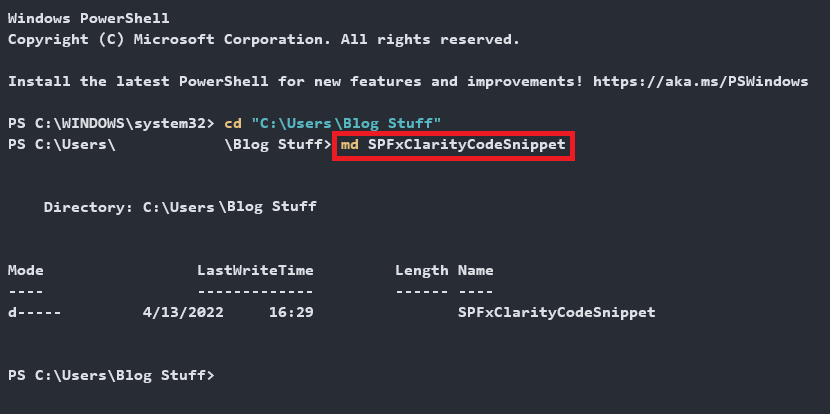
- After we have switched to the folder, we run
Yo @microsoft/sharepoint
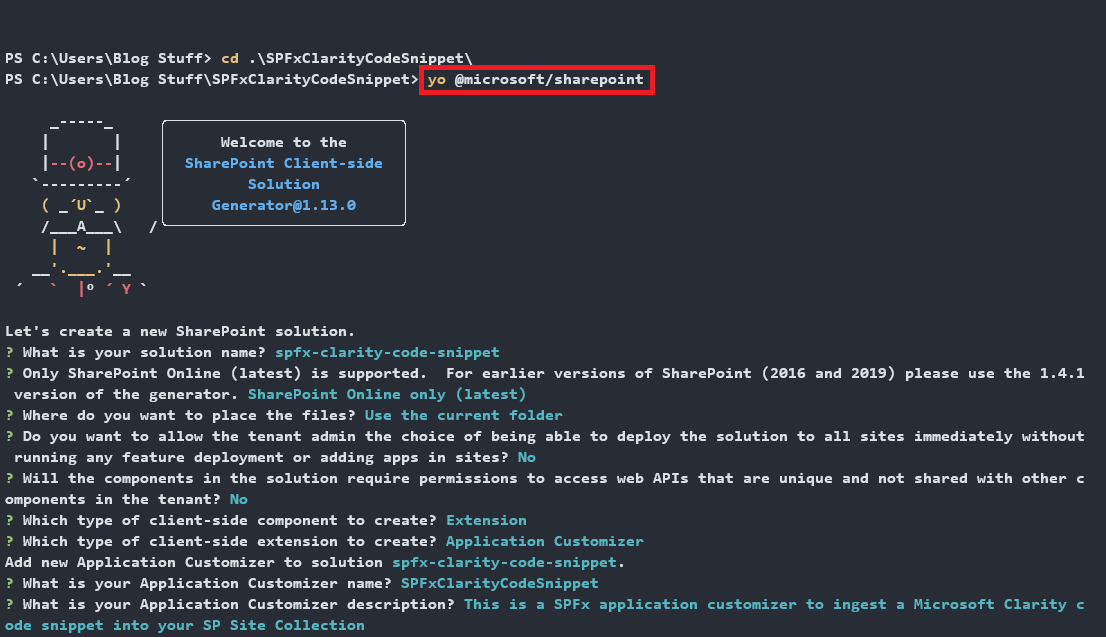 Now we are quizzed by the generator about our new customizer:
- Solution name: spfx-clarity-code-snippet
- Version: SharePoint Online only
- Use the current folder
- No
- No (for real this time)
- Extension
- Application customizer
- Customizer name: SPFxClarityCodeSnippet
- Customizer description: This is a SPFx application customizer to ingest a Microsoft Clarity code snippet into your SP Site Collection
After this, we wait … until you see this:
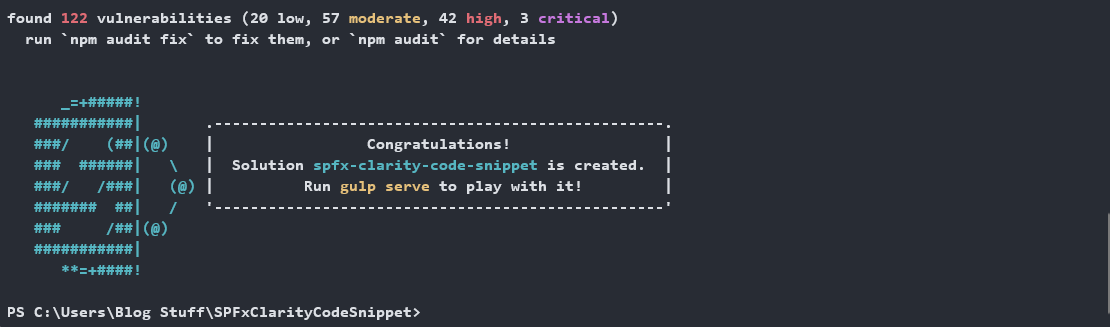
I could not have said it better myself, so: Congratulations!
TypeScript file & serve.json
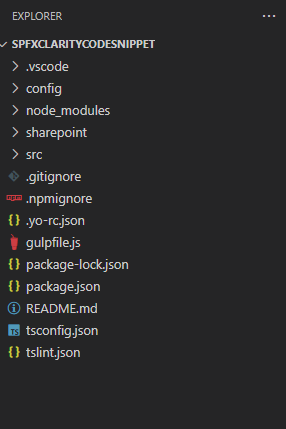
We will start our Visual Studio Code right away with
code .
It should present a folder structure like this:
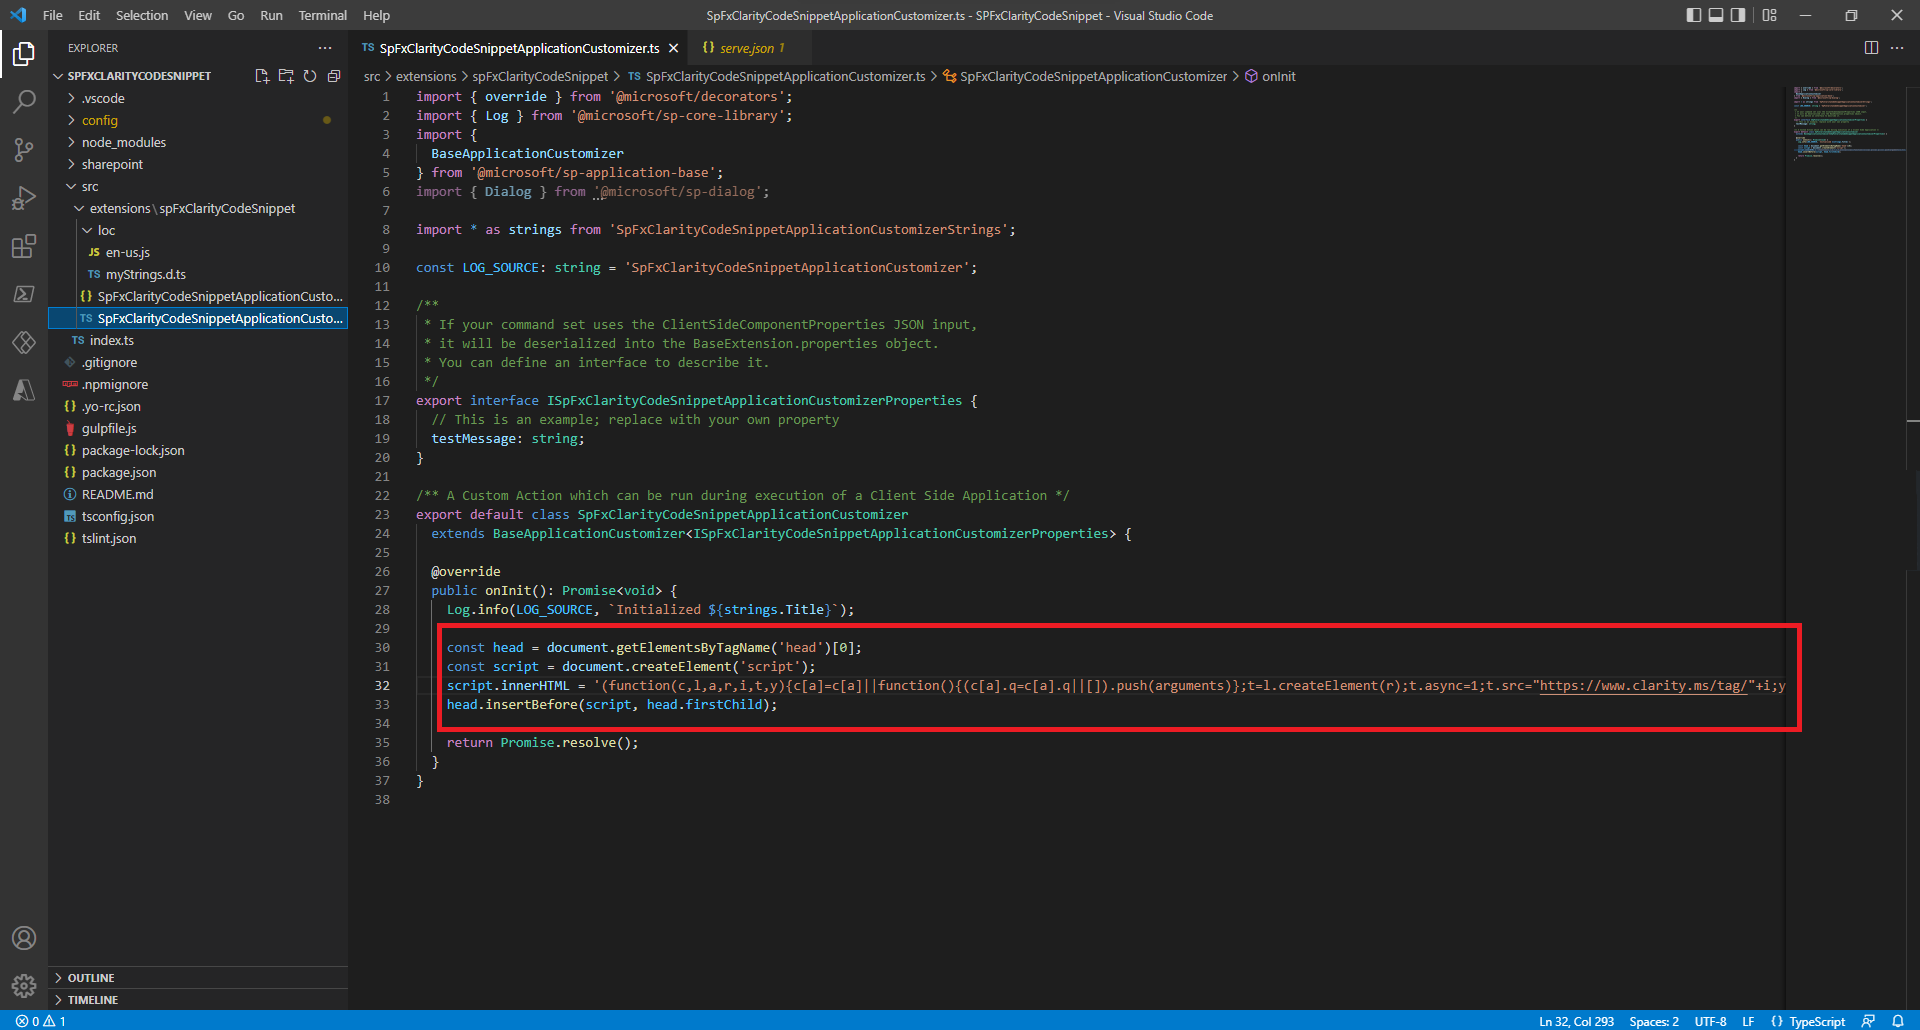
 Now we want to modify our TypeScript file, which can be found in the folder structure
 src\extensions\spFxClarityCodeSnippet\SpFxClarityCodeSnippetApplicationCustomizer.ts:
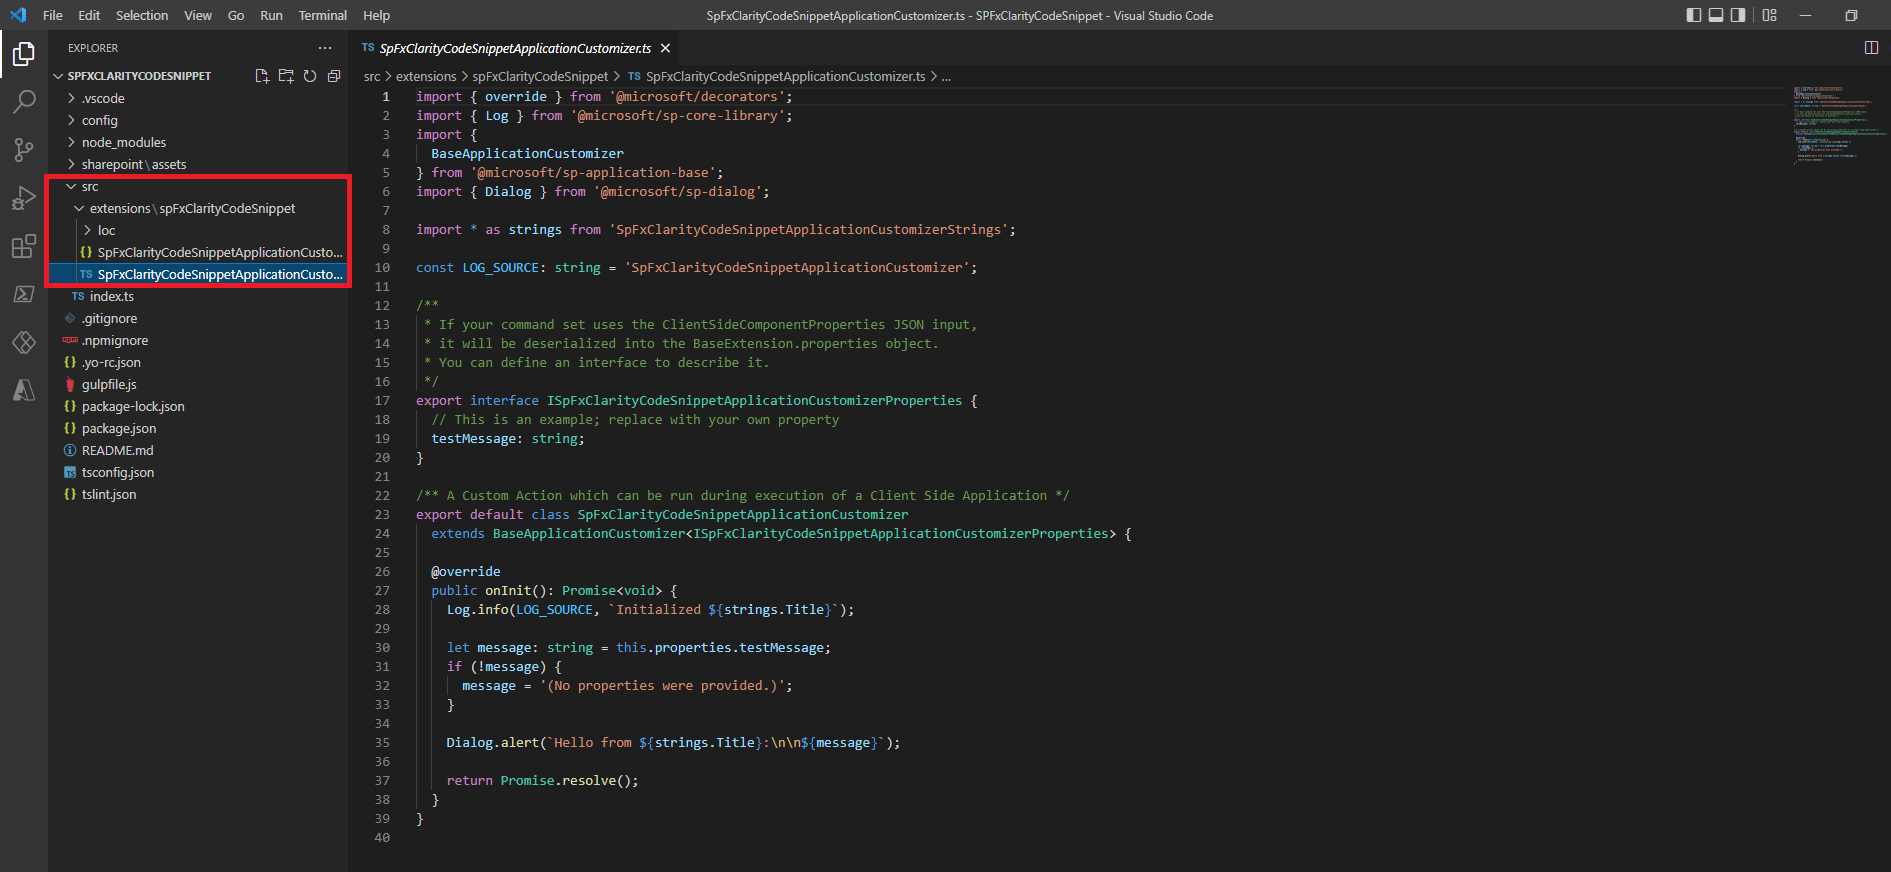 Within the onInit() method, we have to replace the code sample with our code:
const head = document.getElementsByTagName('head')[0];
const script = document.createElement('script');
script.innerHTML = '(function(c,l,a,r,i,t,y){c[a]=c[a]||function(){(c[a].q=c[a].q||[]).push(arguments)};t=l.createElement(r);t.async=1;t.src="https://www.clarity.ms/tag/"+i;y=l.getElementsByTagName(r)[0];y.parentNode.insertBefore(t,y);})(window, document, "clarity", "script", "[Replace with your Clarity Project ID]");';
head.insertBefore(script, head.firstChild);
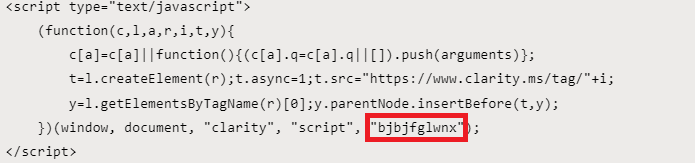
 After that, we just need to replace the part where it says
 [Replace with your Clarity Project ID] with our own Project ID.
We find it at the end of the Clarity tracking code we copied earlier:
 Now we are done with the TypeScript coding and need to tell the serve.json about our testing page.
We open
Now we are done with the TypeScript coding and need to tell the serve.json about our testing page.
We open config\serve.json and replace the two pageUrl with our own values.
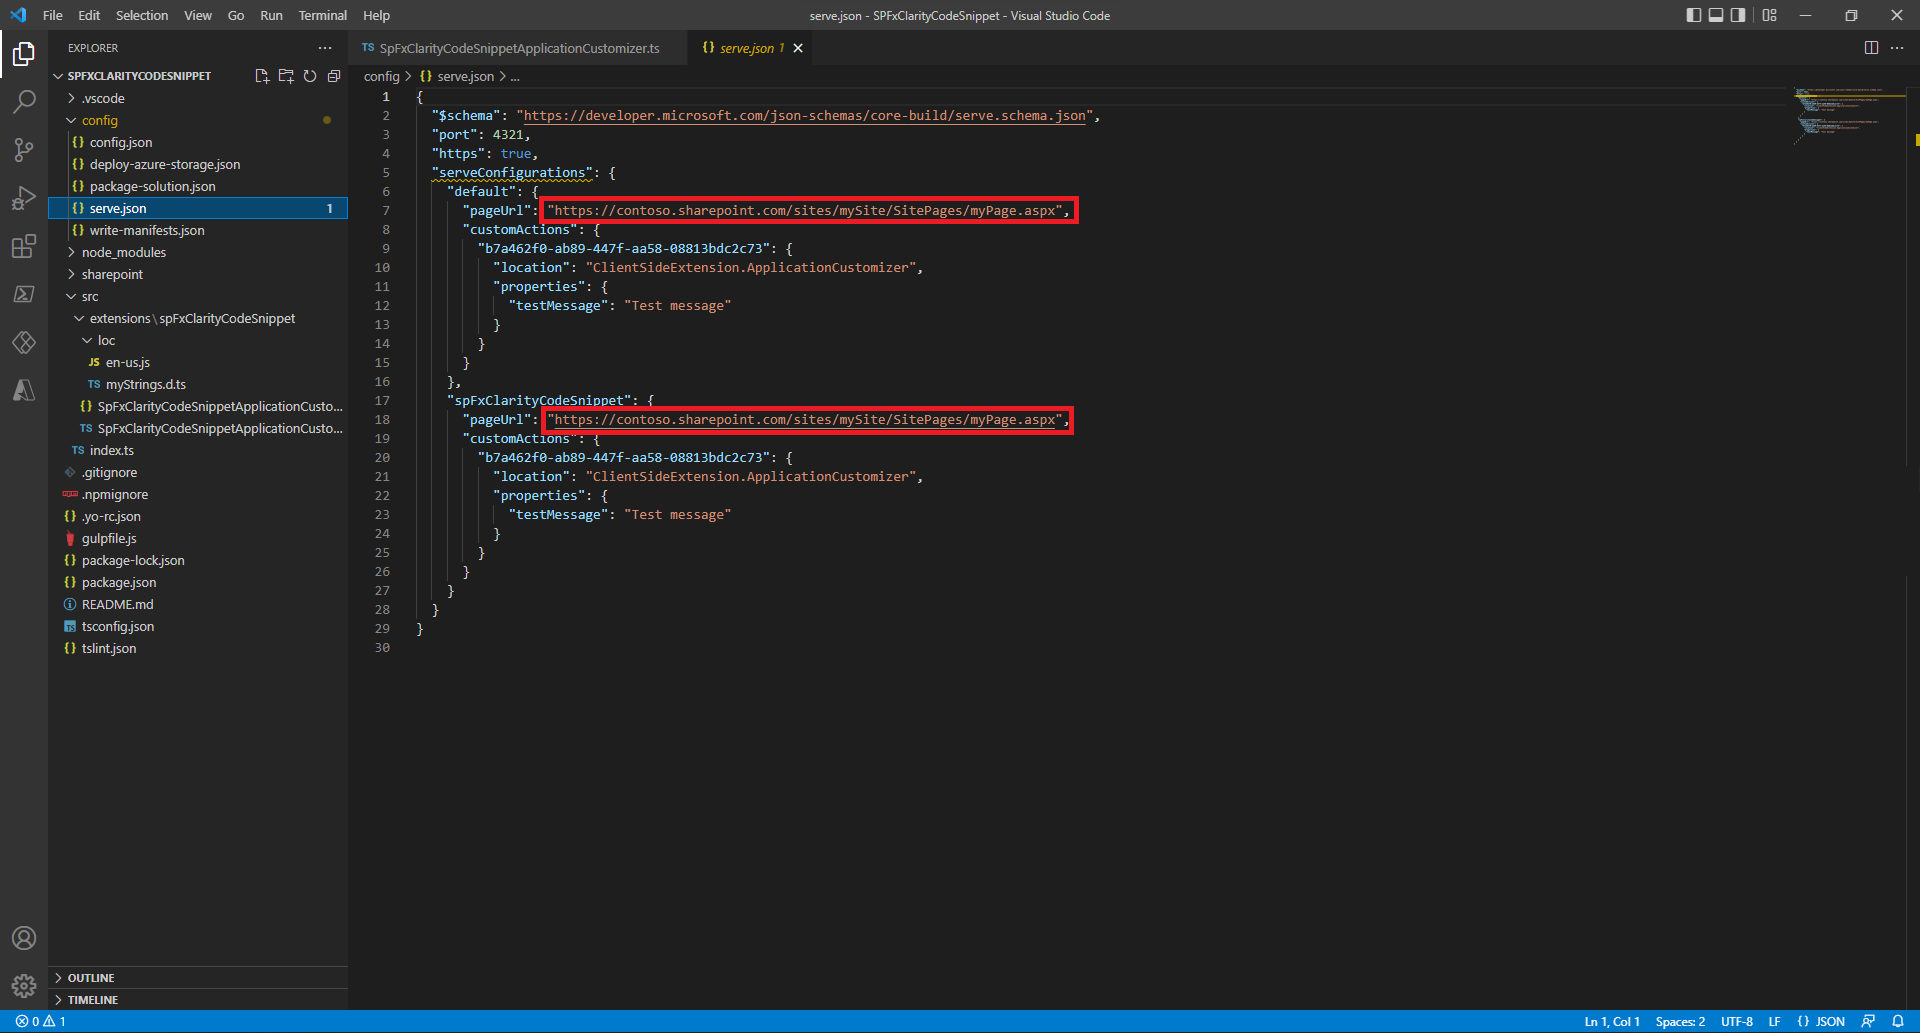 Coding is so much fun, isn’t it?!
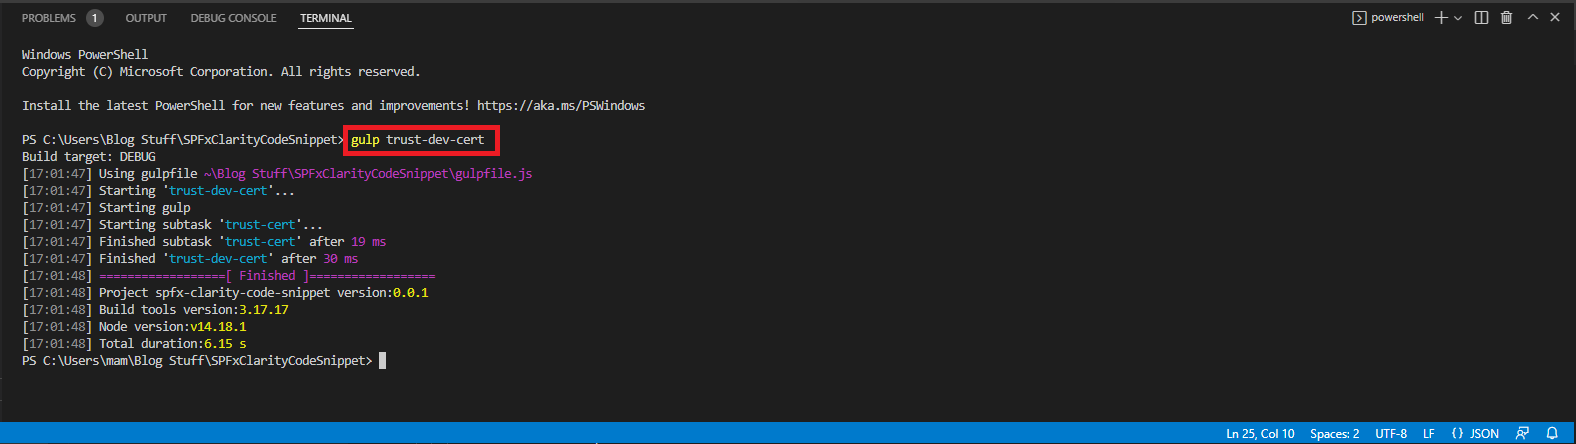
Dev certificate, test & package your SPFx app customizer
Everyone starts out small and in case we have never done a SPFx solution before, we need to run the following command in the terminal:
gulp trust-dev-cert
- We now start our debugging session with the simple command:
gulp serve
gulp serve --nobrowser
- This should start our trusted browser, which now shows the following screen:
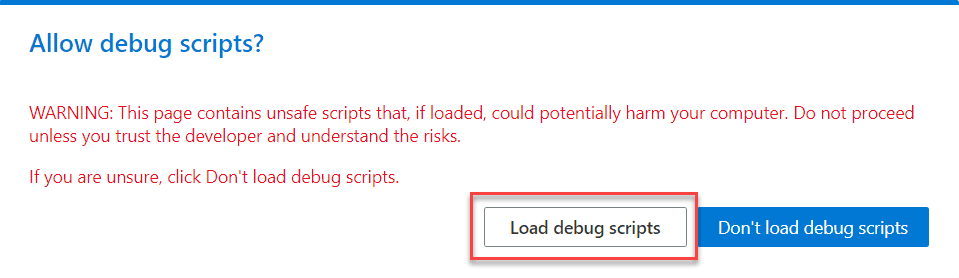
- Of course, we say
Load Debug Script!
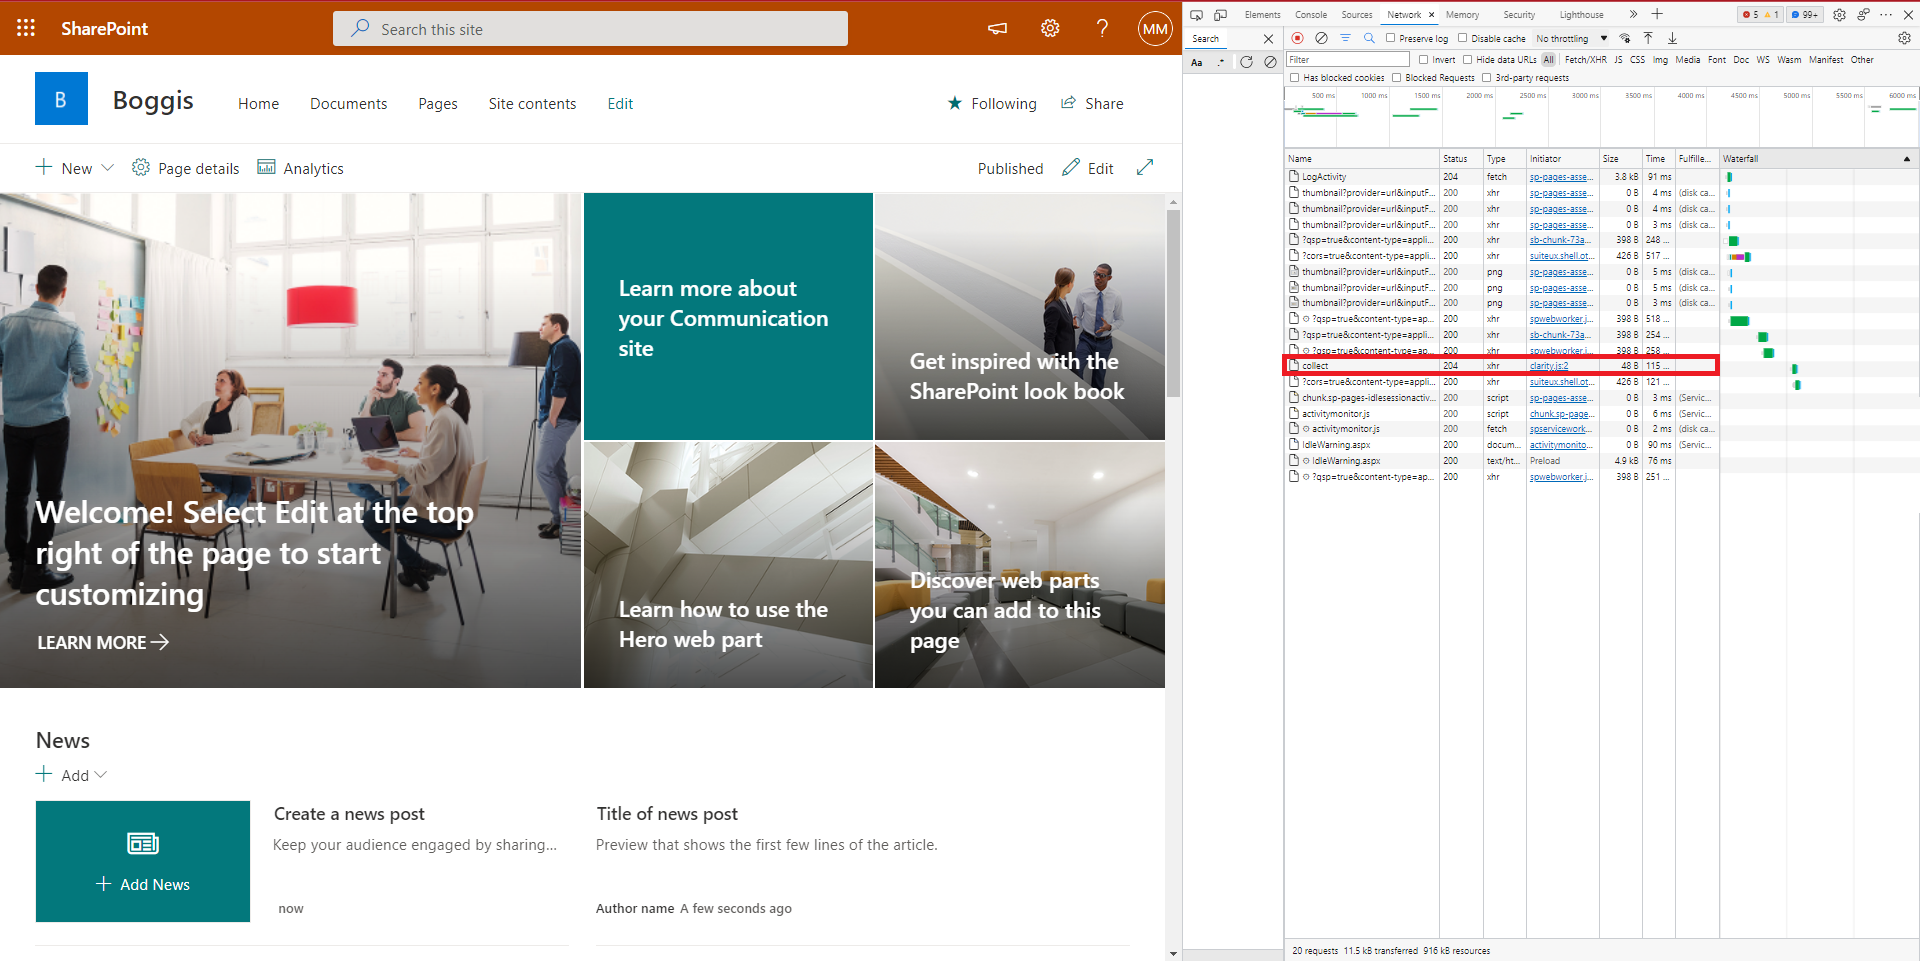
Now, to make sure that our tracking code works, we open the browser’s developer tools. In the network tab we should find an entry called collect.

I am really proud of us. We have almost made it!
Deploy your app customizer & add it to a site collection
We just need to set up the App Customizer on SharePoint and enable it on the Site Collection. We can do that through the SharePoint Admin Center.
- In the tab
More featureswe can find the sectionApps: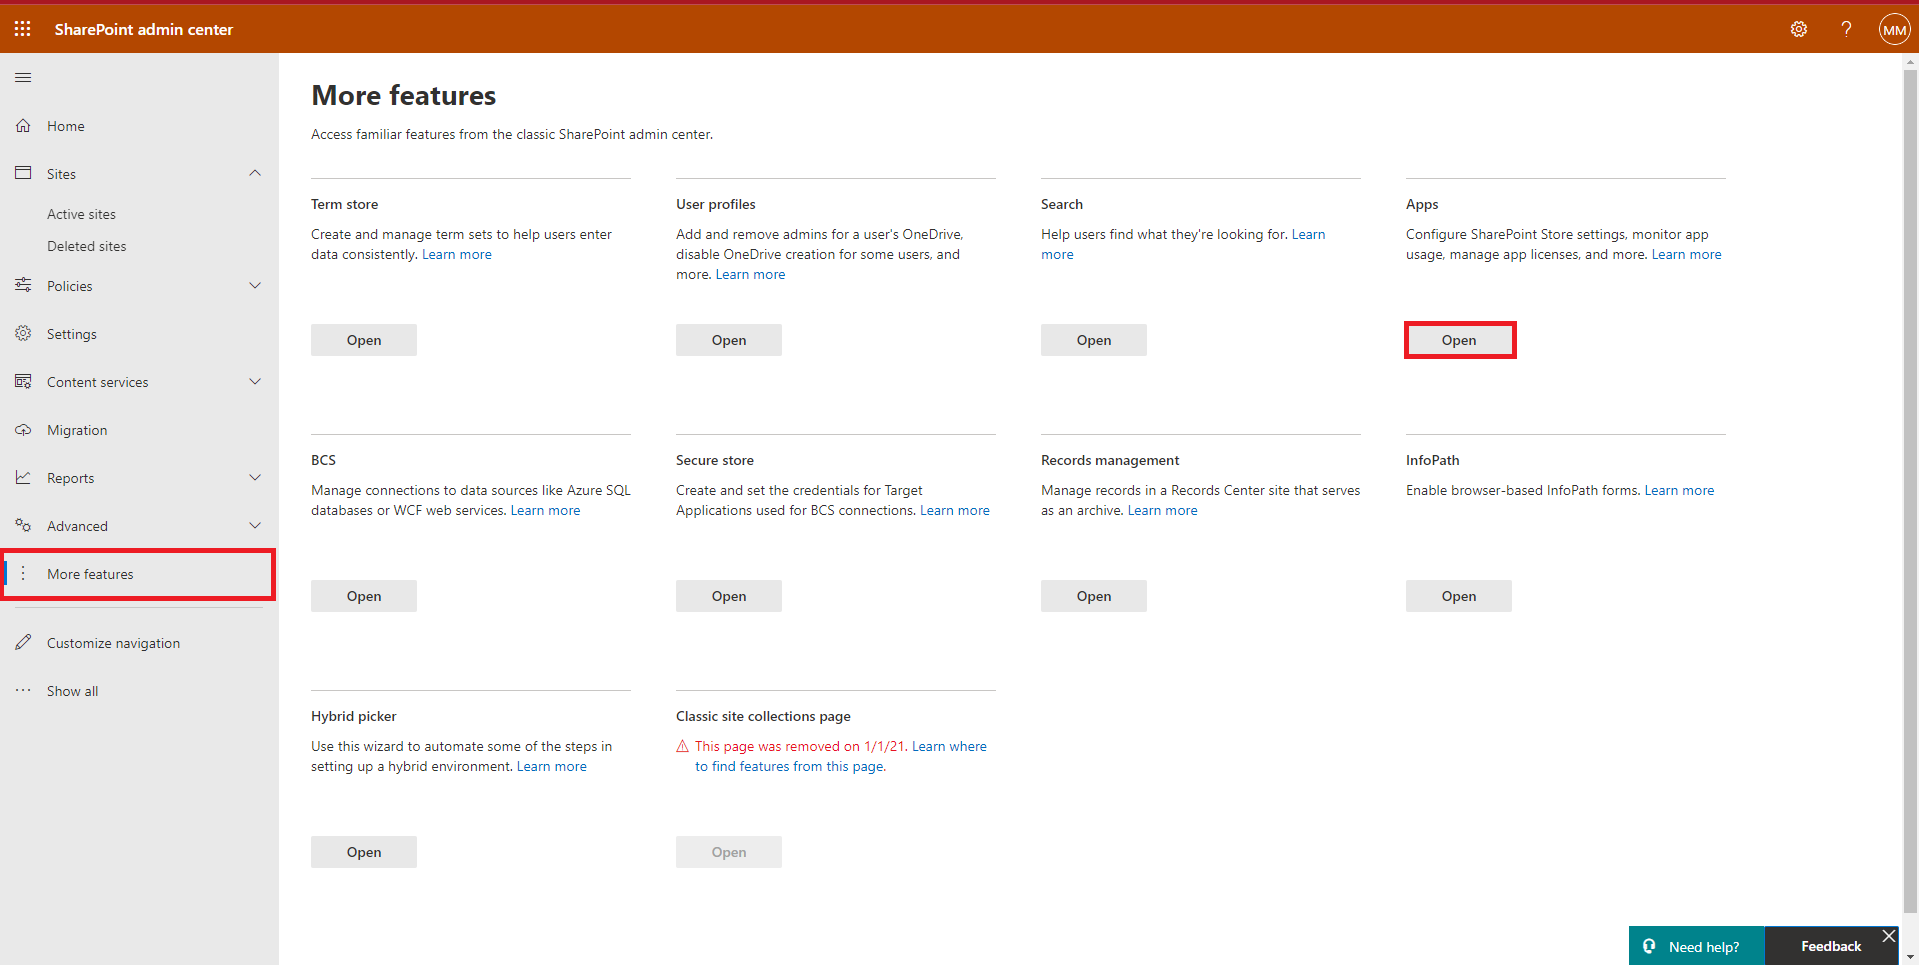
- In the Manage apps tab we click on
Upload.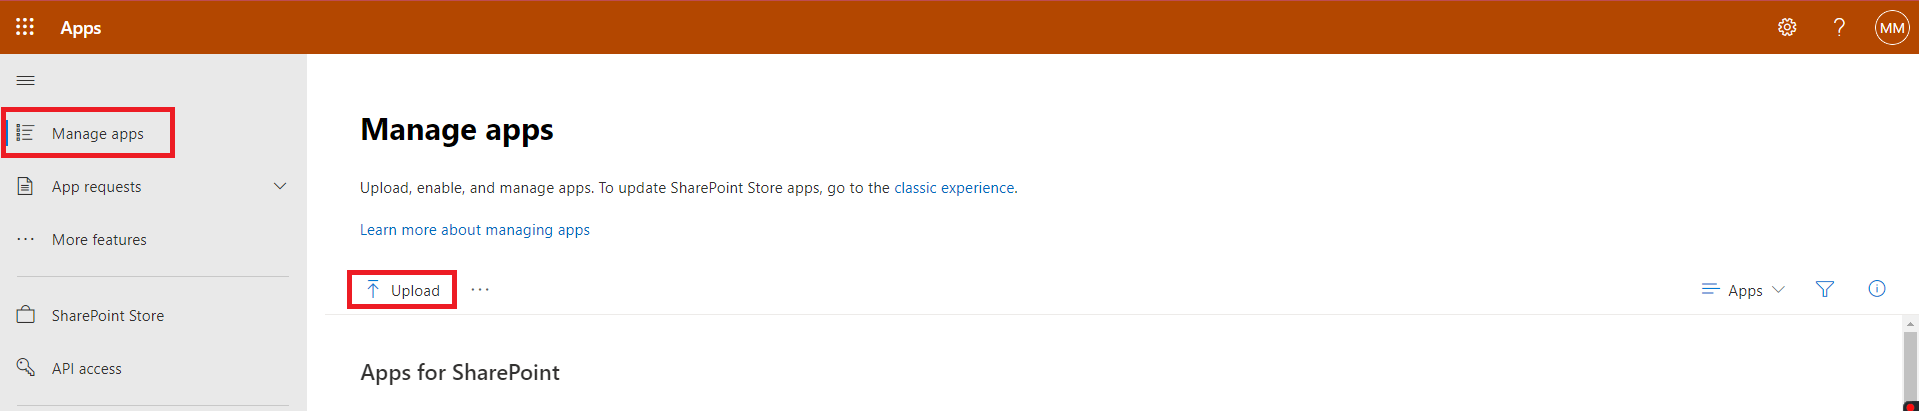
- We should now be able to find our .sppkg file in the folder
sharepoint\solution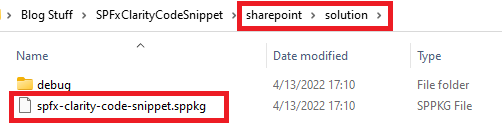
- When uploading, we are asked if we want to enable our app. We certainly do!
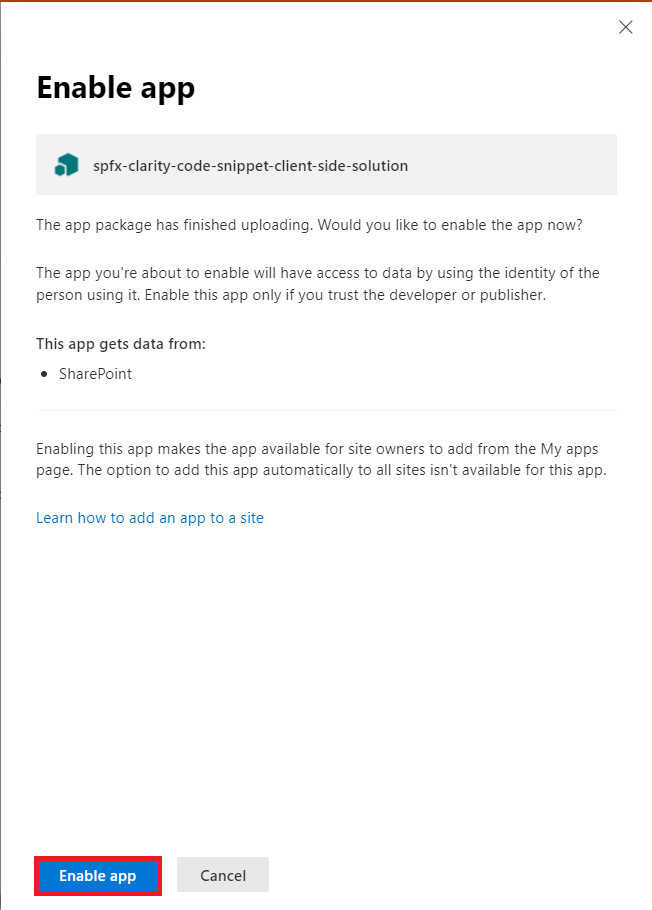
- With this, we also immediately receive a beautiful success message:
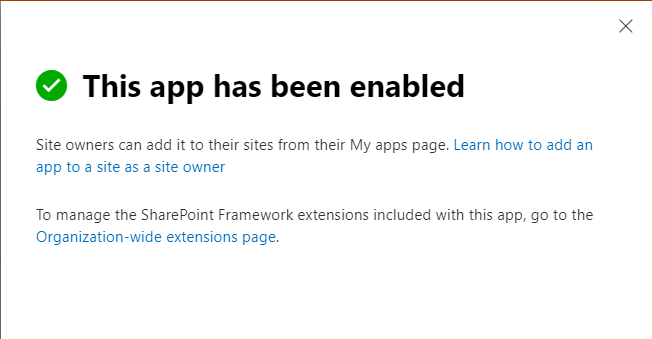
- And in the app listing, we also see our app right away:

- Now we switch to our site collection and open the settings:

- In the menu we now select
Add an app: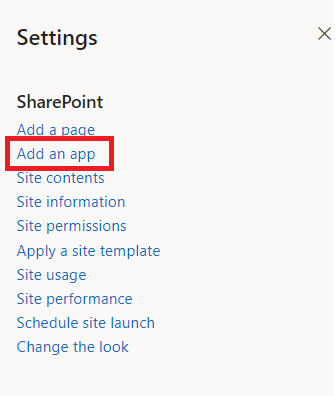
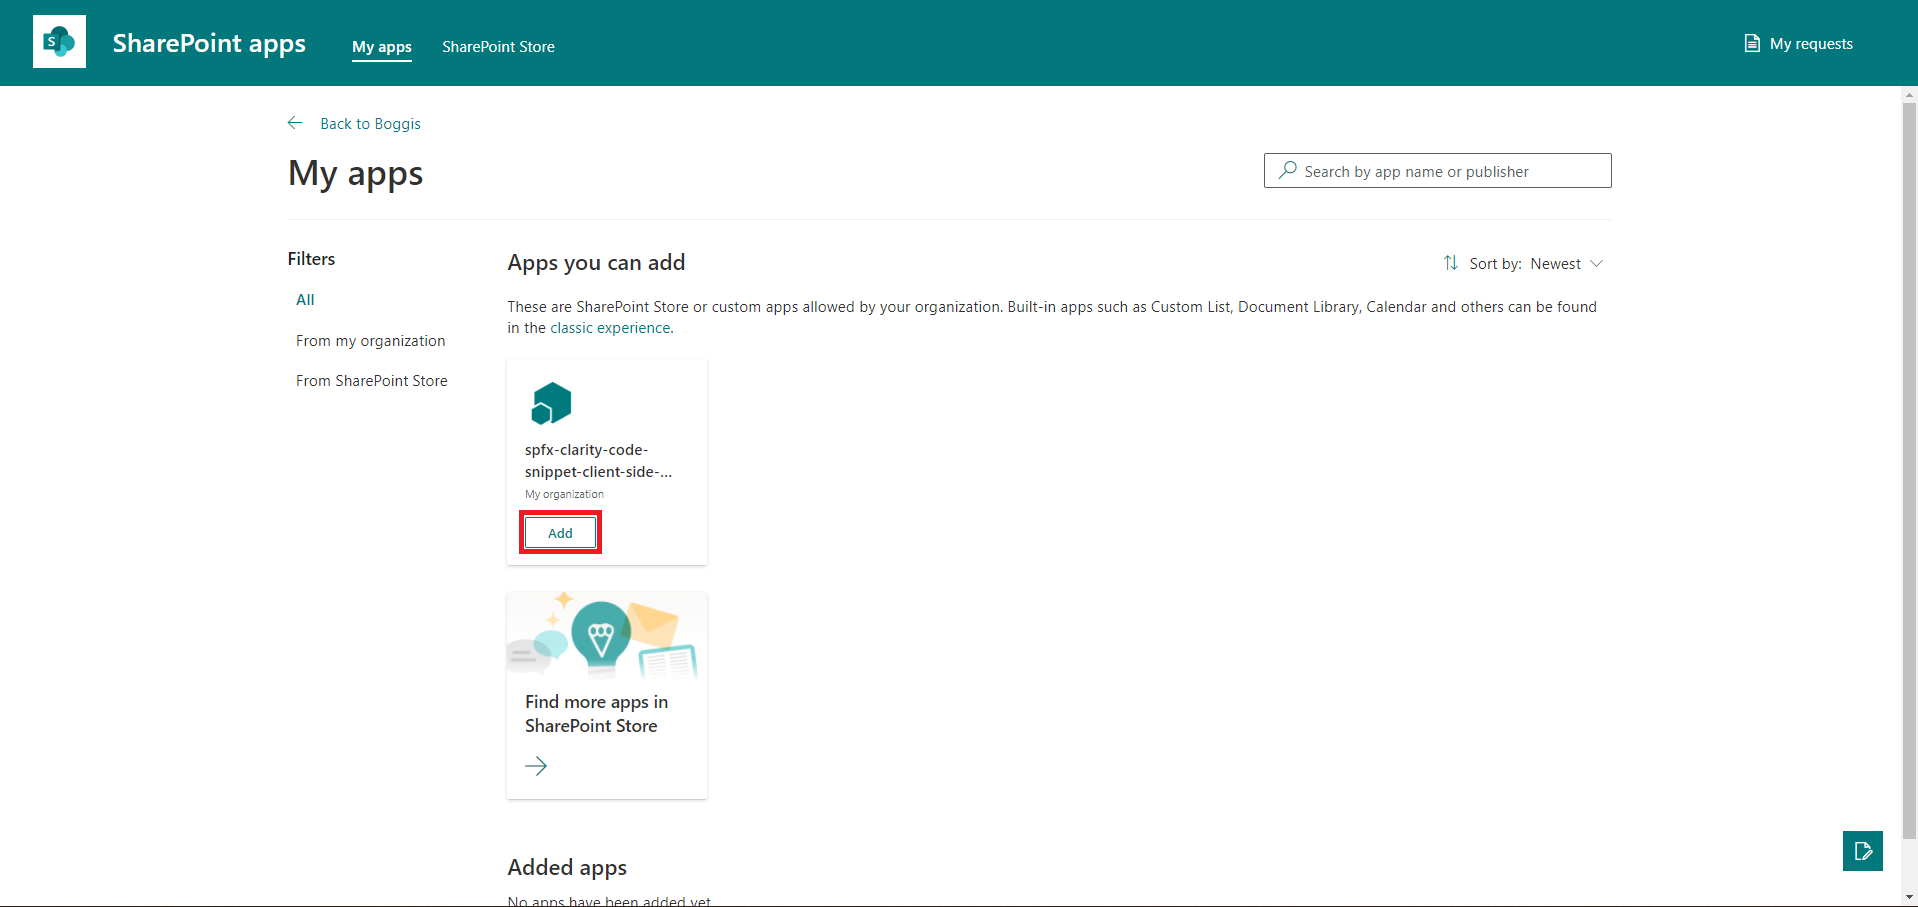
- We should now see our app, which we can add to the site collection:
- Back on our site collection, we can now start the Browser development tools and check if our extension is already running:
Noteworthy
When a project is created on Clarity, it can take up to 2 hours for data to arrive. Additionally, each session that is recorded can take up to 30 minutes to show up in https://clarity.microsoft.com/. Quite long for an impatient person like me.
Summery
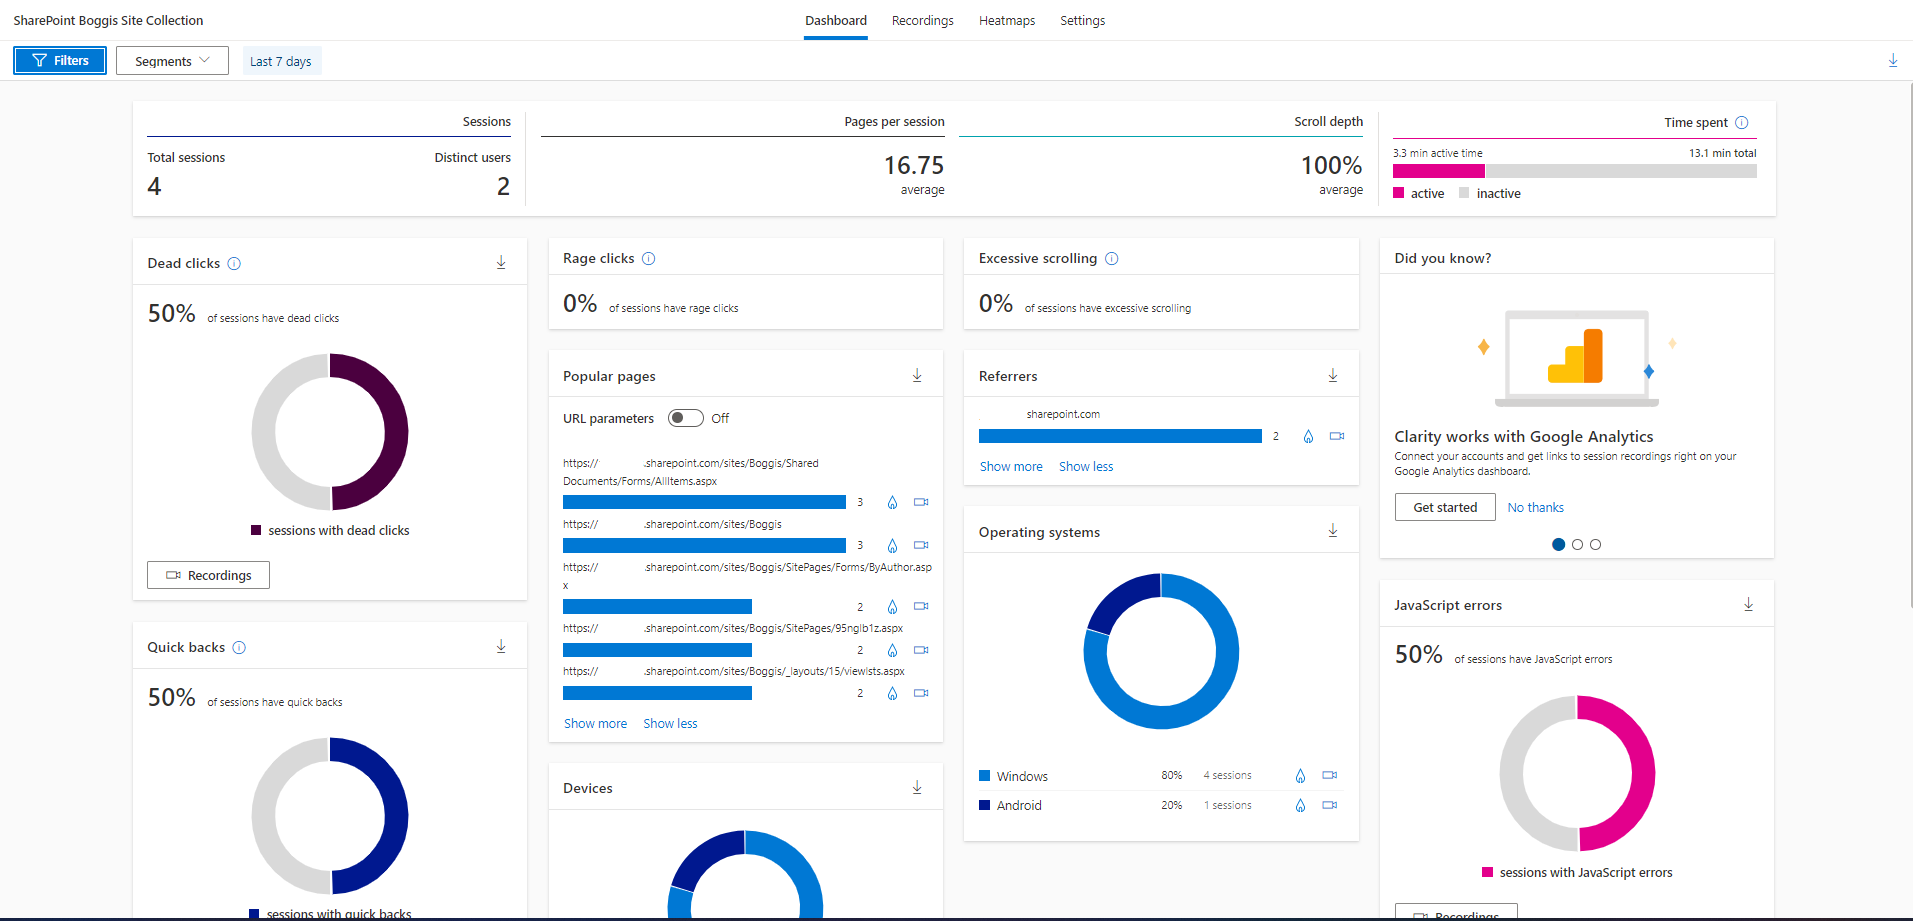
Microsoft Clarity in combination with SPFx app customizer is easy to integrate into SharePoint. It can help us to generate a better understanding of user behaviour. User feedback can be supplemented with data from the
- Dashboard:
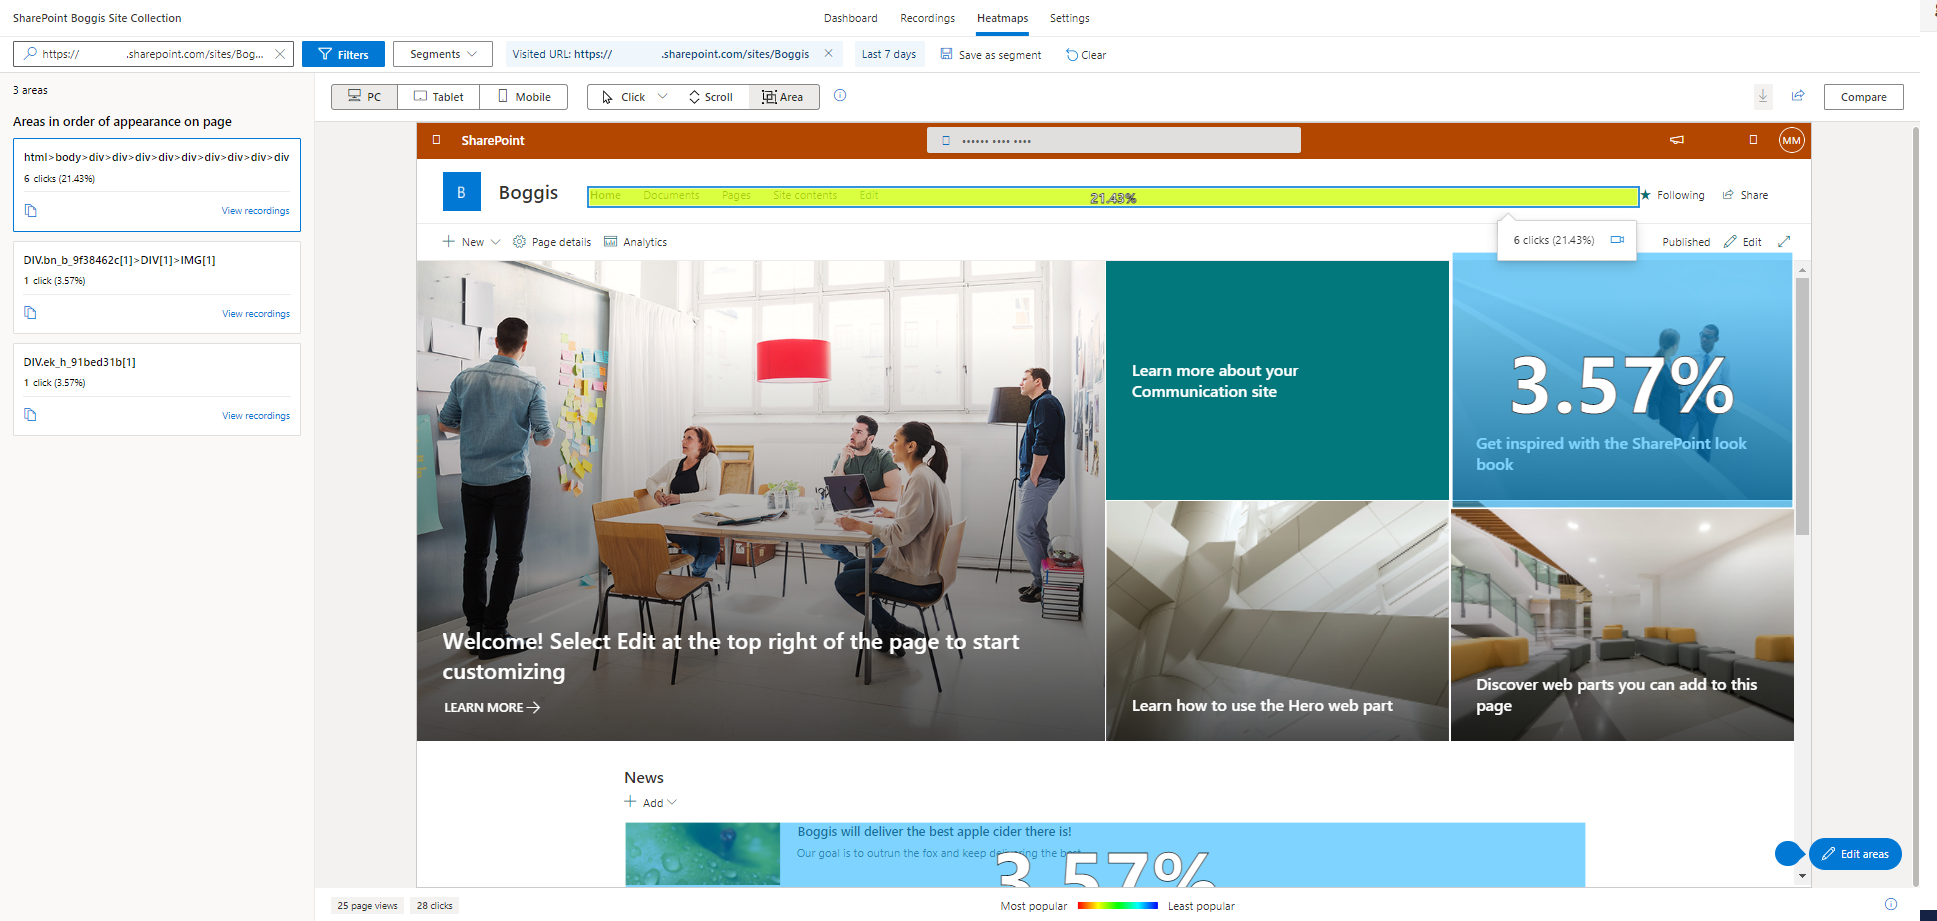
- Headmap:
- and Recordings:
 Just think of scenarios where we want to present a lot of content or where we want to integrate our own controls … the possibilities are never-ending!